What You Should Know Before Getting Veneers with a Digital Wax Up
Veneers with digital wax up planning have changed the way smile makeovers work — and for the better.
Here’s a quick answer if that’s all you need:
What is a digital wax-up for veneers?
A digital wax-up is a 3D virtual model of your planned veneer results, designed using CAD software before any tooth preparation begins. It lets you see and approve your new smile in advance — and gives your dentist a precise blueprint to work from.
Why does it matter?
- Preview your results before a single tooth is touched
- Protect your natural enamel with guided, minimally invasive preparation
- Reduce surprises — the final veneers are designed to match your approved digital plan
- Improve communication between you, your dentist, and the dental lab
- Try it first — a physical mock-up can be placed in your mouth so you can test the look and feel
Here’s the problem most patients face: veneers are permanent. Once your teeth are prepared, there’s no going back. That’s a lot of pressure when you can’t clearly picture what your new smile will look like.
Traditional dentistry asked patients to trust the process — and hope for the best. Today, that’s no longer necessary.
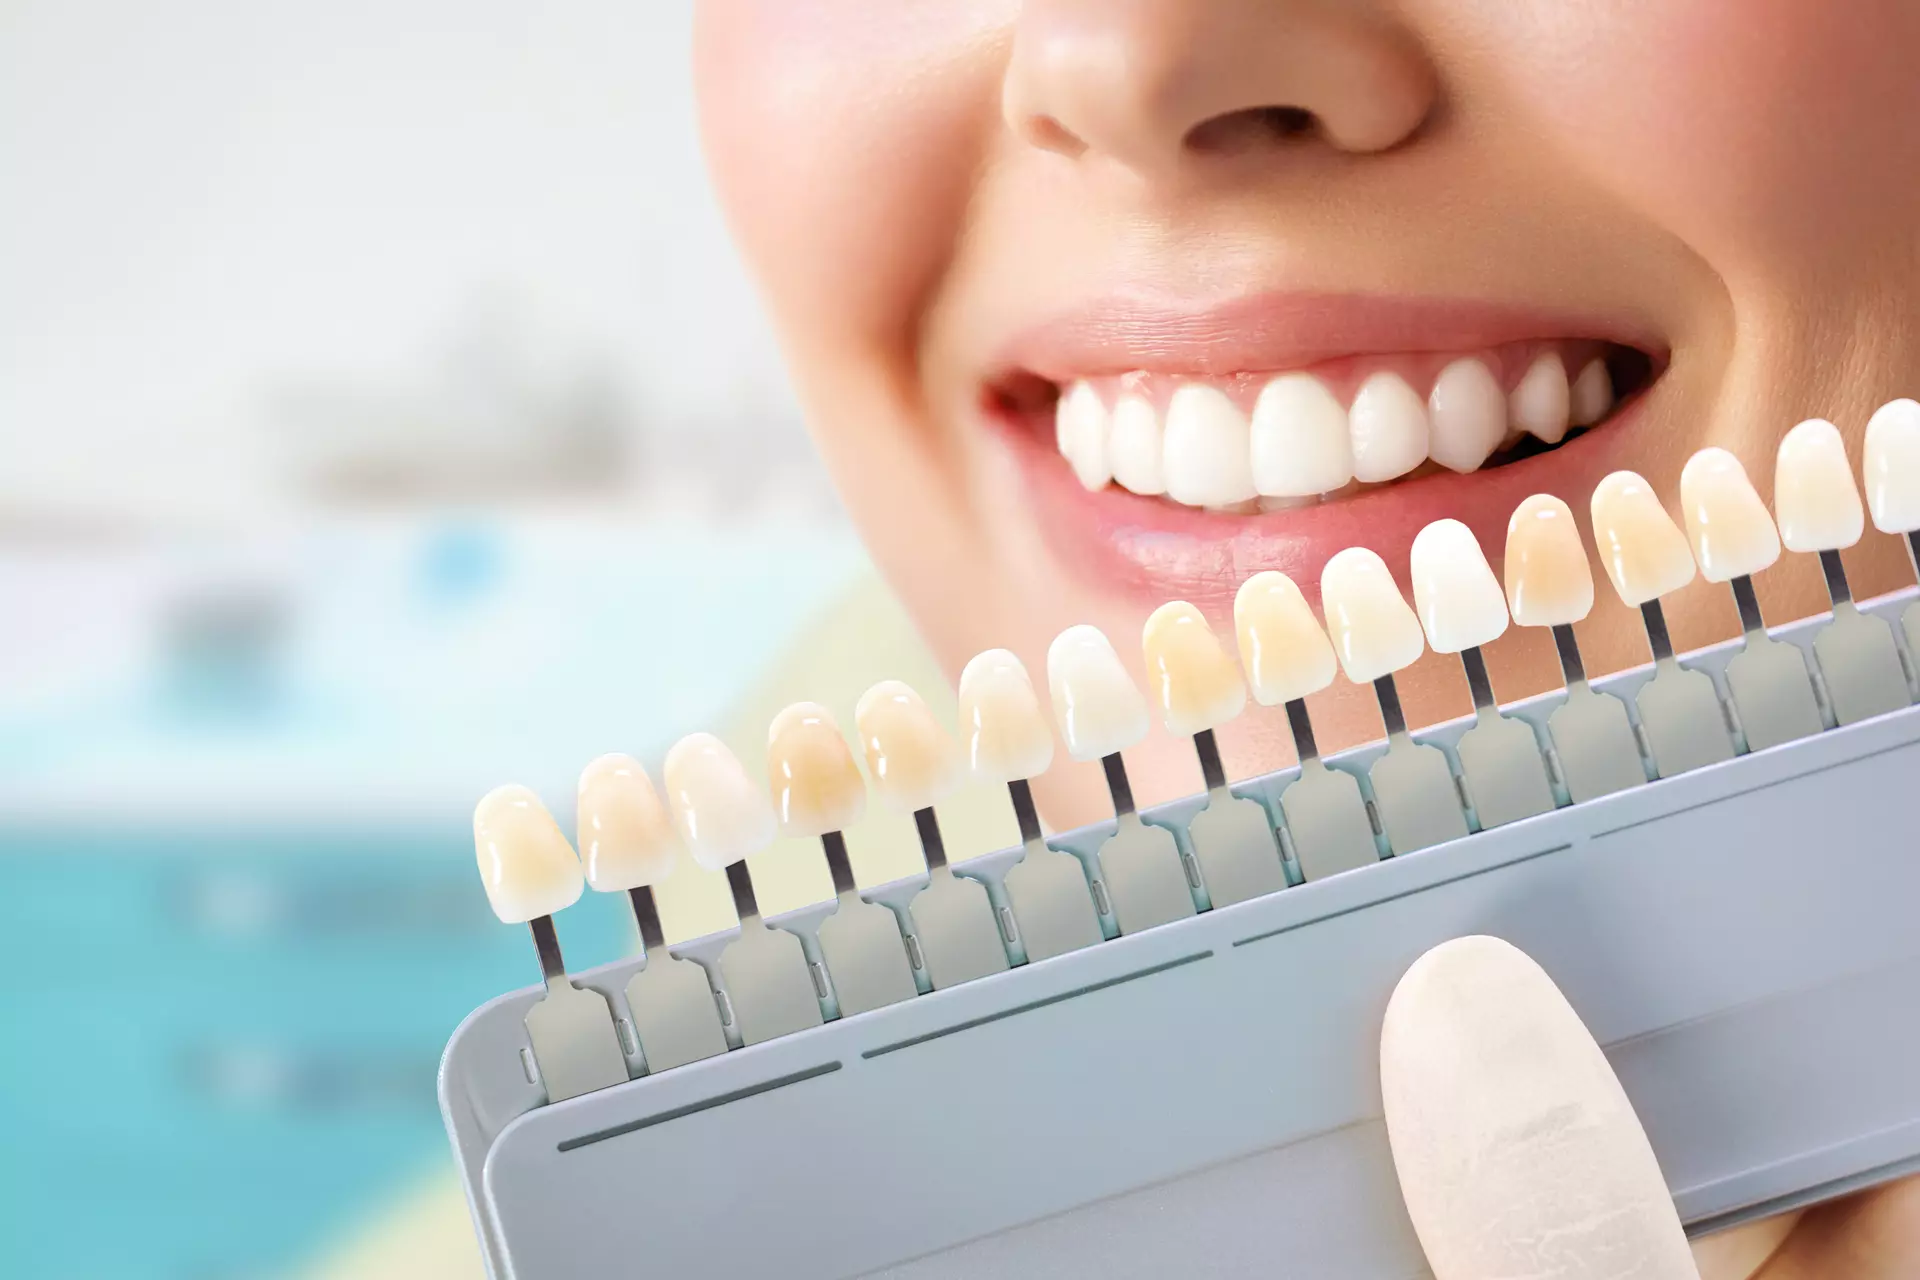
Modern digital wax-up technology lets you literally preview your smile on a screen, request adjustments, and even wear a temporary version in your mouth before any irreversible work begins. It’s the closest thing dentistry has to a “test drive” for your new teeth.
I’m Dr. Sandra Puerto, cosmetic dentist at Inspired Dental, and I’ve helped patients across Windermere and the greater Orlando area achieve confident, natural-looking smiles using veneers with digital wax up planning as the foundation of every smile makeover. In the sections below, I’ll walk you through exactly how this process works — step by step — so you know what to expect before you ever sit in the chair.
Veneers with digital wax up terms made easy:
- airway friendly veneer placement
- are veneers permanent
- veneers and preventive dentistry
The Evolution of Smile Design: Veneers with Digital Wax Up
For decades, the cosmetic dental industry relied on manual “diagnostic wax-ups.” In this conventional approach, a dentist would take physical putty impressions of your mouth, pour a stone cast, and send it to a dental lab. There, a technician would hand-sculpt tooth shapes out of physical white wax directly onto the stone model.
While this manual process required remarkable artistic talent, it was highly susceptible to human error. Transferring physical measurements between 2D photographs and a 3D stone model often resulted in slight dimensional inaccuracies. Furthermore, if a patient wanted to change the shape or length of a planned tooth, the technician had to physically scrape away or melt the wax and start over, adding days or weeks to the treatment timeline.
Today, we use CAD/CAM technology (Computer-Aided Design and Computer-Aided Manufacturing) and high-resolution 3D scanning to design your smile virtually. A digital wax-up is a three-dimensional model of your mouth created entirely inside specialized software. Instead of physical wax, we use virtual tools to shape, lengthen, widen, and align your teeth on a digital screen.
This technological evolution is a massive win for clinical predictability. According to a landmark study on Conventional and Digital Workflow Planning, digital workflows drastically reduce manual transfer errors and improve marginal accuracy compared to traditional methods. Furthermore, modern CAD/CAM software allows us to duplicate the approved virtual design exactly into the final porcelain restorations, ensuring there are no surprises when your permanent veneers are bonded.
To help you understand the foundational differences, we have compiled a comparison of these two approaches:
Feature Traditional Manual Wax-Up Digital Wax-Up (CAD/CAM) Data Acquisition Messy physical putty impressions (PVS) Fast, comfortable 3D intraoral scans Design Process Hand-waxing on physical stone models Precision CAD software modeling Patient Preview Looking at a static, physical wax model Real-time 3D screen view and physical intraoral mock-up Enamel Preservation Manual estimation of tooth reduction Micro-precise, guided preparation Turnaround Time Often 2 to 3 weeks of laboratory time Rapid design with immediate 3D printing Duplication Accuracy High risk of minor variations during casting Near-perfect replication of approved design
By eliminating the guesswork of physical molds, we can maintain complete control over the aesthetic and functional outcome of your treatment. If you are new to cosmetic dentistry, reading about the best porcelain veneers near me for beginners is an excellent way to understand how these advanced planning tools protect your long-term dental health.
The Step-by-Step Digital Veneer Workflow
Achieving a flawless smile makeover requires a highly systematic approach. A fully digital workflow bridges the gap between facial aesthetics and dental anatomy, ensuring that your new teeth harmonize beautifully with your unique facial features.
Clinical research, such as a documented Customized Composite Veneers Study, highlights that a totally digital workflow—from virtual design to final fabrication—delivers incredibly predictable, conservative cosmetic results.
Here is the exact step-by-step process we use at Inspired Dental to design and deliver your custom veneers.
Step 1: Digital Impressions and 3D Facial Scanning
The process begins with a comprehensive data-gathering session. We completely bypass the uncomfortable, gag-inducing putty trays of the past. Instead, we use a state-of-the-art intraoral scanner to capture thousands of high-resolution, three-dimensional images of your teeth and gums in seconds. Studies show that modern intraoral scanners demonstrate comparable, and often superior, precision and trueness compared to traditional polyvinyl siloxane (PVS) impressions.
Next, we capture specialized 3D facial scans and standardized high-resolution photographs of your face from multiple angles (including full-face smiling, relaxed, and profile views). This step is crucial because a beautiful smile must be designed from the “outside in.”
By mapping your unique facial dynamics, we ensure that your dental midline aligns perfectly with your facial midline, and that your new teeth look natural when you speak, laugh, and smile. This level of facial analysis is highly appreciated by our patients visiting us from nearby Windermere and Dr. Phillips, who expect the highest standard of cosmetic precision.
Step 2: Designing Veneers with Digital Wax Up Software
Once we have gathered your digital data, we import the scans into advanced CAD software like exocad. This is where the virtual artistry takes place.
We analyze your facial proportions, lip line, and smile arc to design the ideal size, shape, and position of each veneer. We carefully calculate the tooth width-to-height ratio—aiming for the universally aesthetic golden proportion of 0.75 to 0.80—and ensure that the incisal curvature of your upper teeth gently follows the natural curve of your lower lip.
During this phase, we also establish the safety boundaries for your teeth. The software alerts us to minimum thickness guidelines (typically 0.5mm at the incisal edge and 0.3mm at the cervical margin for porcelain veneers) to ensure your restorations are structurally sound without being overly bulky.
Step 3: The Diagnostic Mock-Up and Patient Try-In
Once the virtual design is complete, we don’t just send it to the lab to make the final porcelain. First, we “test drive” it.
We use a high-precision 3D printer to fabricate a physical model of the digital wax-up. From this model, we create a flexible silicone matrix (or mold). We fill this matrix with a temporary, tooth-colored bis-acrylic material and place it directly over your unprepared, natural teeth.
Within minutes, the material sets, the matrix is removed, and you are left with a highly realistic, physical preview of your new smile. This is called an intraoral mock-up.
This step allows you to stand in front of a mirror, see your new teeth in real-time, and evaluate how they feel in your mouth. We can check your speech (ensuring “S” and “F” sounds are completely natural) and make immediate, real-time adjustments with a finishing bur if you want a corner rounded or a length shortened. This clinical validation phase is a core part of the Veneer Smile Design Workflow and is essential for aligning expectations before making any permanent changes to your teeth. To understand the long-term commitment of this step, you can read more about no going back: are dental veneers permanent.
Step 4: Guided Preparation and Final Delivery
Once you have enthusiastically approved your mock-up, we proceed to tooth preparation. Because we have already designed the final veneer shapes, we do not have to prep your teeth blindly.
We actually perform “guided preparation” directly through the temporary mock-up material. Using specialized depth-limiting burs, we create precise horizontal and vertical reduction grooves. Because the bur cuts through the temporary mock-up first, it only removes the absolute minimum amount of natural enamel required to accommodate the final veneer thickness.
Once the teeth are minimally prepped, we take a final digital scan and send it to our dental laboratory partner. Because we use CAD/CAM duplication, the lab can copy our approved digital wax-up file exactly.
The lab fabricates your custom restorations—often using ultra-durable, highly aesthetic lithium disilicate (IPS e.max) or hand-layered feldspathic porcelain. At your delivery appointment, we isolate your teeth using a rubber dam to ensure a completely dry field, prepare the enamel with a precise phosphoric acid etching protocol, and bond your flawless new veneers permanently in place.
Clinical Benefits: Enamel Preservation and Flawless Aesthetics
The integration of digital wax-ups into our cosmetic workflow is not just about cool software and impressive screen previews; it has profound biological benefits for your oral health. Our primary clinical goal at Inspired Dental is to achieve dramatic cosmetic transformations while remaining as conservative and minimally invasive as possible. This philosophy is also central to our airway friendly veneer placement protocols, where we balance facial aesthetics with optimal oral volume and airway health.
Minimally Invasive Preparations Guided by 3D Printing
Traditional veneer preparations have historically reduced 25% to 50% of the natural tooth structure—and in older, aggressive techniques, sometimes even more. Over-preparing a tooth is highly problematic because the strongest, most reliable bond for a porcelain veneer is achieved when it is bonded directly to enamel, not the underlying dentin.
By utilizing 3D-printed preparation guides and sectioned silicone indexes derived directly from your digital wax-up, we can verify our reduction depth in multiple planes (cervico-incisally and buccolingually) during the procedure. This ensures we stay safely within the enamel layer, typically requiring a micro-reduction of just 0.3mm to 0.5mm. In some cases where we are closing gaps or building out worn teeth, we can even perform “no-prep” or “ultra-thin” veneers, preserving 100% of your natural tooth structure.
Perfecting Aesthetics and Function with Veneers with Digital Wax Up Technology
A gorgeous smile is useless if it interferes with how you eat, speak, or breathe. Your teeth must function in harmony with your jaw joints (TMJ) and muscles.
During the digital wax-up design phase, we don’t just look at the front surfaces of your teeth. We analyze your occlusion (bite alignment) in both static and dynamic movements.
We design the palatal (back) surfaces of the veneers to ensure they do not create heavy, premature contacts when you chew. This meticulous planning prevents veneer chipping, protects against premature wear, and ensures your bite feels completely natural.
Frequently Asked Questions About Digital Smile Design
To help you make an informed decision about your cosmetic journey, we have answered some of the most common questions we receive about veneers with digital wax up planning.
How does a digital wax-up differ from a traditional manual wax-up?
A traditional wax-up is hand-crafted by a technician melting physical wax onto a stone model. It is slow, prone to dimensional distortions, and difficult to modify.
A digital wax-up is created virtually using high-precision CAD software. It allows for micro-precise measurements, instant adjustments, and seamless integration with 3D printers and milling machines. Most importantly, while a manual wax-up is difficult to replicate exactly in the final porcelain, CAD/CAM technology allows us to duplicate the virtual design file with sub-micron accuracy, ensuring your final veneers are an exact match to the preview you approved.
What are the common pitfalls of digital wax-ups and how are they avoided?
One common technical pitfall is ignoring software spacer settings. In CAD software, a “spacer” is a virtual gap programmed between the tooth prep and the veneer to allow room for the bonding cement. If a clinician uses a standard software spacer (like 120 microns) on a highly conservative preparation, the milled veneer can end up too thin and fragile. At Inspired Dental, we avoid this by optimizing our software spacer settings to 60–70 microns for anterior teeth, ensuring the perfect balance of strength and fit.
Another pitfall is “prep show-through,” which occurs when ultra-thin veneers are placed over severely discolored teeth without adequate reduction. We avoid this by utilizing high-resolution clinical photography and chairside shade-adjustable mock-ups, allowing us to determine the exact material thickness and opacity required to mask underlying discoloration before fabrication begins.
Who is a good candidate for an additive digital wax-up?
An additive wax-up is an incredibly conservative technique where we only add material to your existing teeth, requiring virtually zero tooth preparation. You are an ideal candidate for an additive digital wax-up if you have:
- Diastemas (unwanted gaps between your teeth)
- Minor tooth wear or chipped edges that need to be lengthened
- Microdontia (naturally small or peg-shaped teeth)
- Mild alignment issues where teeth sit slightly backward in the arch
If your teeth are severely rotated, crowded, or stick forward significantly, we may need to combine a subtractive design with short-term clear aligner therapy first to move your teeth into the ideal position for conservative veneers.
Conclusion
At Inspired Dental, we believe that a smile transformation should never involve guesswork. By utilizing veneers with digital wax up planning, we put you in the driver’s seat of your cosmetic journey, allowing you to design, test-drive, and perfect your new smile before we ever begin treatment.
Whether you are looking to close a gap, rebuild worn teeth, or achieve a complete, radiant smile makeover, our advanced digital technology ensures a result that is beautiful, predictable, and biologically healthy. We are proud to serve patients throughout Windermere, Winter Garden, Ocoee, Dr. Phillips, Horizon West, Gotha, Bay Hill, Lake Butler, and Oakland.
Ready to experience the precision of a digitally planned smile? Schedule a consultation for dental veneers in Windermere with our cosmetic team today, and let us show you what your future smile looks like!